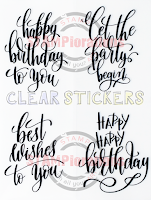
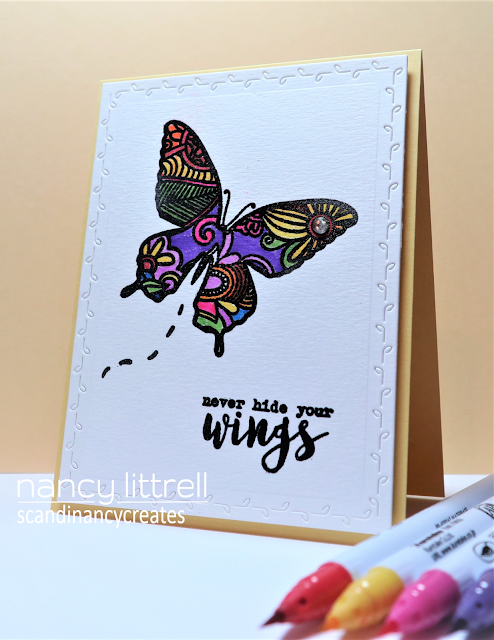
Time to Celebrate STAMPlorations 8th Birthday! Day 1. Be sure and check out the STAMPlorations Blog with all the Details and Fabulous projects by the STAMPgirls!
My Day 1 Birthday cards are using the Birthday Bundle #1.
Here is the link to Two more Card samples I created for the Pre-Order Sale on June 6
using Birthday Bundle #1 .
I am Loving the new products and am sharing Two more cards for the Day 1, 8th Birthday Celebration.
****************
ARTplorations Design Blox #5 stencil.
STAMPlorations Dee's Blossom Sprays #4
STAMPlorations Radiate Happy
***********
Plus Shaker Blends flat sequins Color Confetti.
Monika's Rectangle Flexi-Templates
This was the very 1st card I created using the Birthday Bundle #1...I was hooked!!!
I used the Rectangle Flexi-Templates over mixed media paper and secured with 3M masking tape. That gave me the perfect white border. Then secured the ARTplorations Design Blox #5 Stencil using the tape. Next I used i-Crafters i-Brushes to blend the Distress Inks: Squeezed Lemonade, Ripe Persimmon, Festive Berries and Barn Door. I removed the stencil and template and went..."Wow"!
Placed card front in MISTI and stamped Dee's Blossom Sprays #4 and STAMPlorations Radiate Happy sentiment using Archival Jet Black Ink. Then removed card front from MISTI.
Attached Shaker Blends flat sequins Color Confetti using Connect Glue. Then attached card front to SU Basic White 100# card base and Done! I LOVED the results.
************************
My 2nd card for Day 1
STAMPlorations Dee's Blossom Sprays #4
CUTplorations Art Border Die #1
***********
Plus Clear Stickers Shine Bright.
I kept my 2nd card more CAS. I placed the Strathmore mixed media A2 card front in MISTI and stamped the STAMPlorations Dee's Blossom Sprays #4 with Versafine black ink and heat embossed with SU clear embossing powder.
Removed card front and watercolored with Zigs using wet #4 paint brush to move the ink. So relaxing and fun. Such a beautiful bouquet.
Added Posca Acrylic black ink pen splatters and let dry. Then added the Shine Bright Clear Sticker sentiment to mixed media paper and trimmed and attached to card front.
Next die cut CUTplorations Art Border Die #1 using mixed media paper. The die, cuts beautifully even thru the heavier mixed media paper! I used my Spellbinders Tool 'n One brush end to remove all the tiny pieces from the die...worked quick and easy! Then used a toothpick to remove the few leftover pieces.
Next cut another piece of MM paper for under the die cut border to pop it up and also cover up the image stems. I tried it with and without and liked it better without the stems showing.
Attached to SU 100# cardstock base and Done!
This was my 4th card using this Awesome Birthday Bundle #1!!!
I can now see Birthday Bundles #2 and Birthday Bundles #3 in my future💖
Be sure and join 1 or all of the 3 ways of fun to earn prizes.
Love and Hugs..


