Friday, October 23, 2020

Day 5 STAMPlorations Belated 7th Birthday Celebration

November 28, 2020
I have mailed this card to my dear friend,  Susan...who is celebrating her 70th birthday today.   Our friend Loll is having a Birthday Hop for Susan if you would like to join in sending Susan special birthday wishes.

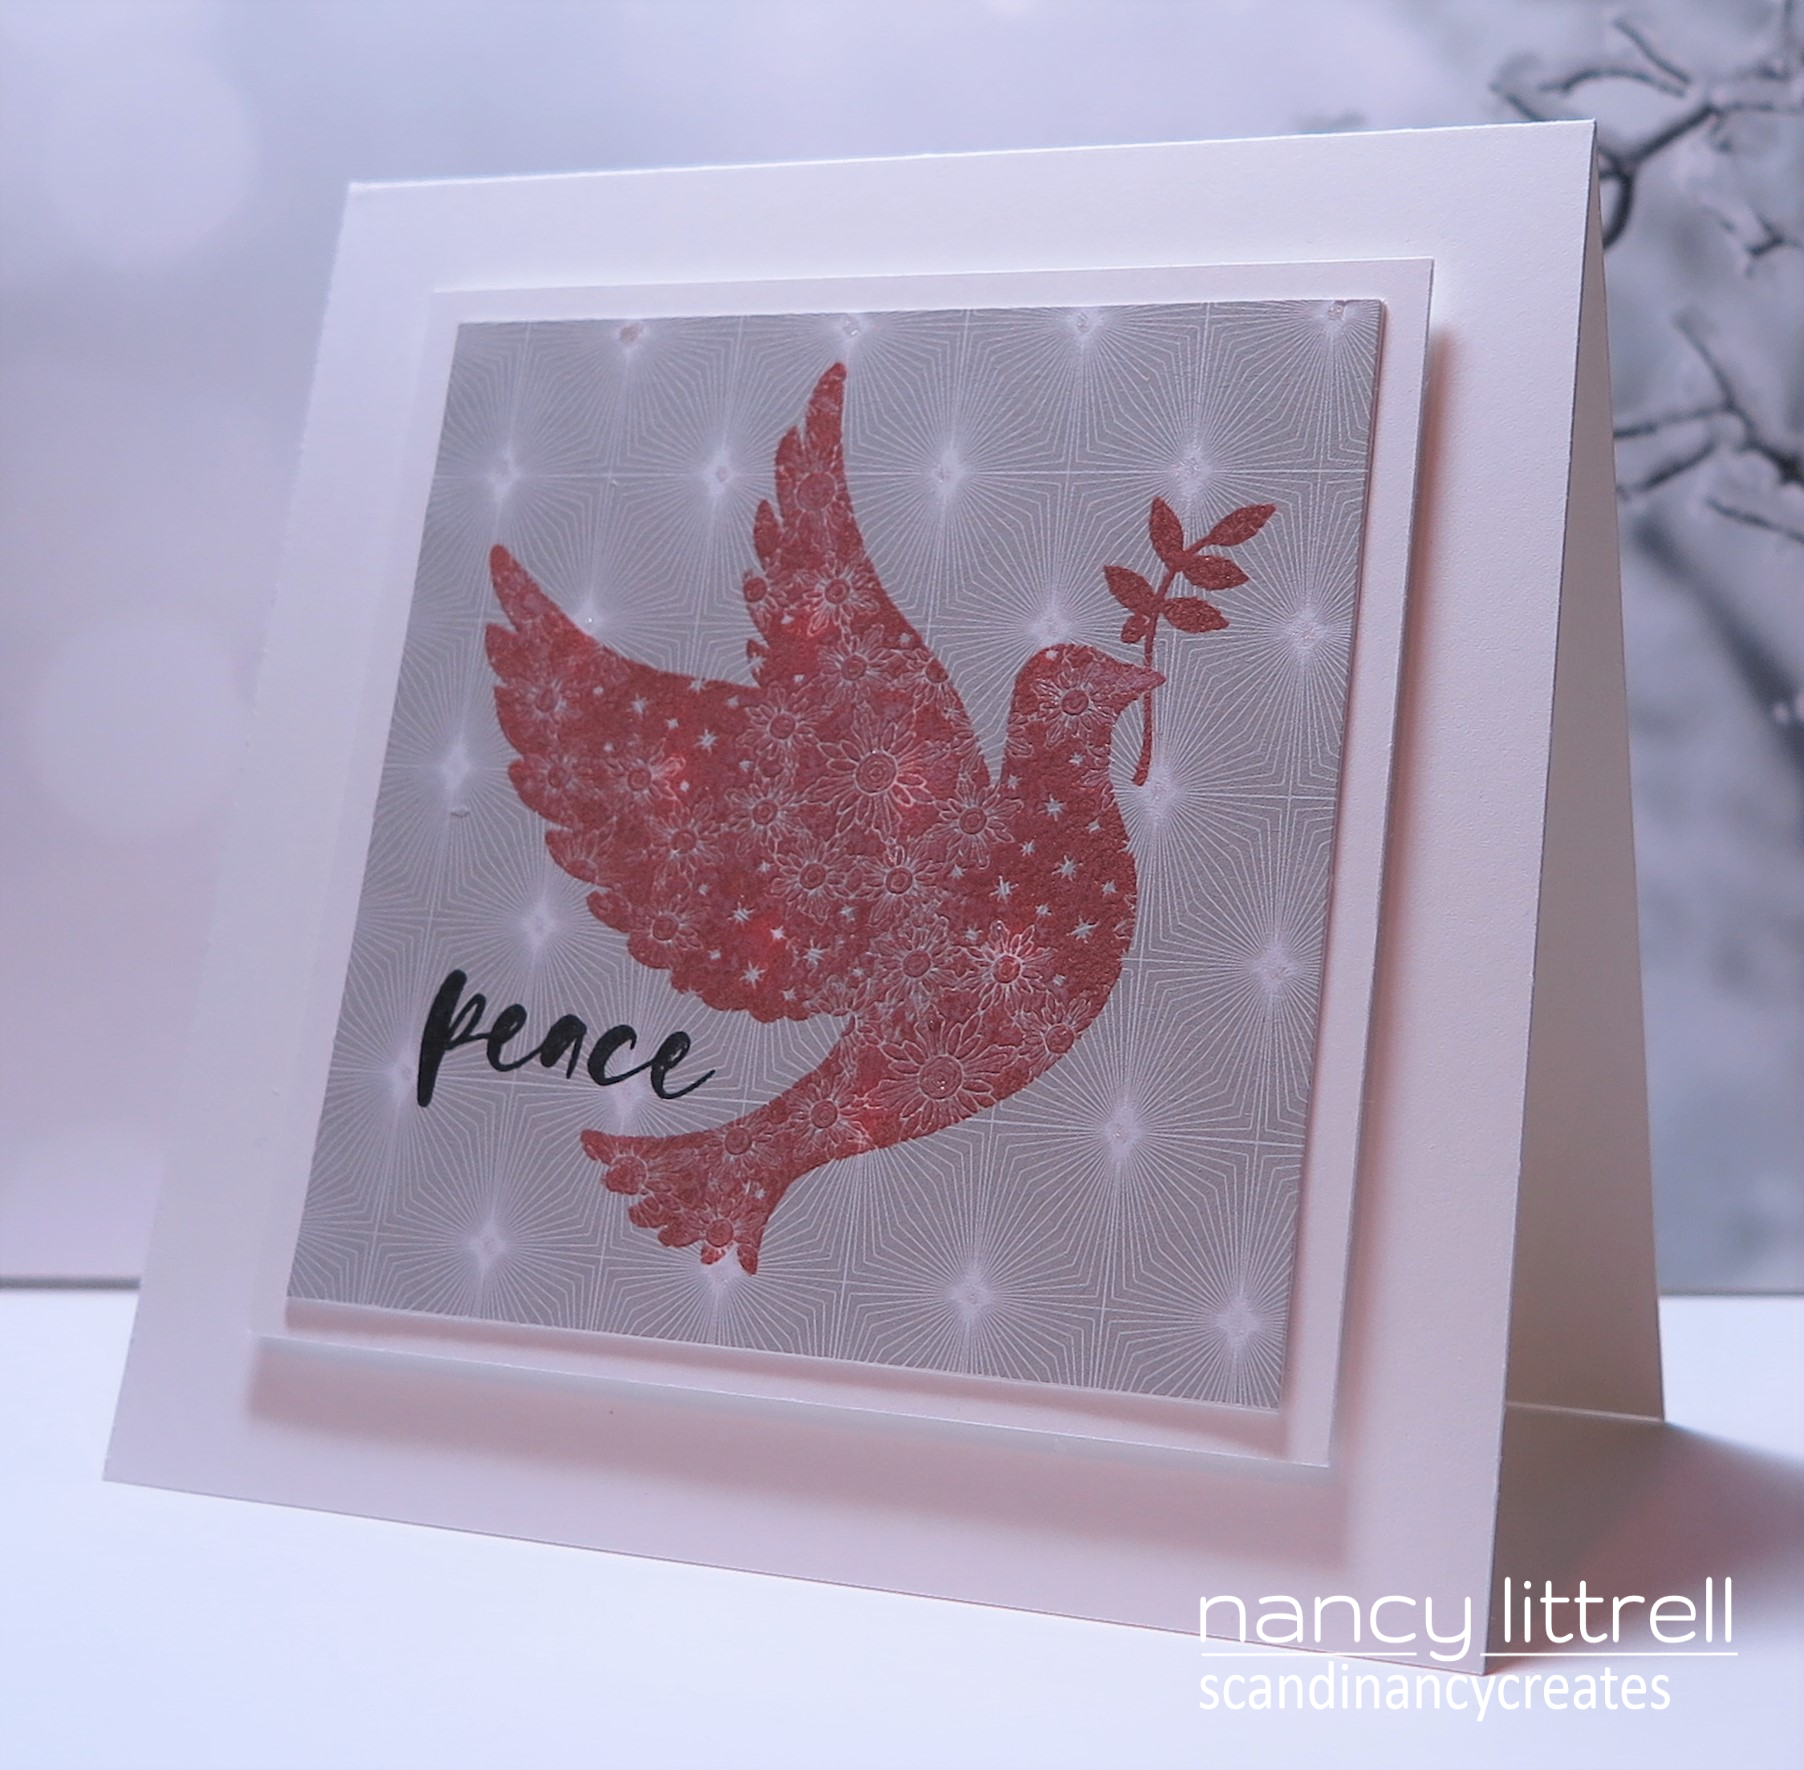
Wishing you a very special day and a gift that keeps on giving!

Love and Hugs,  Nancy


***********************************

Day 5,  the Last Day to Celebrate STAMPlorations Belated 7th Birthday!

Be sure and check out all the Creative and Inspiring Projects by our
very talented Stamp Girls using New and Old Products!


Monika Skinner Designs New Rectangle Flexi-Template.
Sanna Lippert Designs New "Winter Flowers Stencil".
Clear Stickers "Birthday Word Art".

Happy belated 7th Birthday to Shery and David Russ and their wonderful family owned STAMPlorations craft company:-)

It has been exciting to see how Shery has used her amazing Artistic and Administrative talents to create new products over the years.  
I love how Shery always keeps up with the trends.

 Shery has very talented and sweet STAMPgirls on her Design Team and Guest
Designers.  I was so thrilled when Shery asked me to join her CAS Challenge 
Team 2 years ago.  

A year ago I switched to the Stencil Challenge Design Team because Shery has the
most amazing selection of Stencils designed by Shery,  Sanna and Helen.

Also Shery has encouraged and mentored Becca, Dee and Shirley during their
stamp designing adventure.  Just recently Monika joined the designers with her
Flexi-Template designs.  

The STAMPgirls have had a great time making a project a day using New and Old
STAMPloration products by Shery and her designers for your inspiration.
We would love to have you play along.

***************

I am sharing my steps with photos of my background and 
STAMPlorations products I used.

Step 1 & 2
Used 3M masking tape to secure Monika's Rectangle Flexi-Template.  
Then blended Distress Oxide inks
using makeup brushes and Stencil Pal to make a geometric background.

Step 3
Placed  Sanna's Winter Flowers Stencil over background and secured with tape.  
Used a blue Distress Oxide ink,  so my background would not turn to mud.
  Then used a makeup brush to blend the ink thru the stencil and
 around the edge for a frame. 

Step 4
Removed stencil,  masking tape and Rectangle Flexi-Template.

Step 5
Added the "Birthday Word Art" Clear Sticker and Done!
I loved how the background colors showed thru the sticker.

I hope you have enjoyed and been inspired by all the STAMPgirls creative
projects for 5 wonderful days organized by our amazing Shery!!!

Thank you Shery for working so hard along with David to make your wonderful 
STAMPlorations online store a creative success:-)

Love and Hugs....

STAMPlorations Products Used

New Monika Skinner Designs Rectangle Flexi-Template

Sanna Lippert Designs Winter Flowers Stencil

Clear Stickers Birthday Word Art

************************

Prizes:

- one (1) winner of $50 gift code randomly drawn from the STAMPlorations stash link-up found here
- three (3) winners of $10 gift code randomly drawn from comments left on the birthday hop posts (STAMP blog and designers' blogs)
- two (2) winners of $20 gift code randomly drawn from entries in the birthday linky party
- one (1) winner of $40 gift code randomly drawn from entries in the birthday linky party


Commenting and linking up to the birthday linky party close on November 8
Linking up to the STAMPlorations stash $50 gift code giveaway closes on October 31.


Sales and Promotions:

All products in the store,  including products you received are 10% off instantly throughout October.

If you use my STAMPGIRLNANCY 20% off Design Team Code when you order,  
your order will include this not-yet-released, Just Plaid square stencil (10 mil):


Thursday, October 22, 2020

Day 4 STAMPlorations Belated 7th Birthday Celebration

Day 4 of STAMPlorations Belated 7th Birthday Celebration!!

Be sure and check out all the Creative and Inspiring Projects by our
very talented Stamp Girls using New and Old Products!


 Hello Spring Clear Stickers.

I used the 3rd monoprint pull from the New Leaf Prints 4 Slimline Stencil for my
card front.  You can barely make out the veins of the leaves,  but did
create a cool artsy background.

Next I used one of Monika's "Rectangle Flexi-Templates" to mask the center
of the background,  attaching template with masking tape.
Used a make up brush to blend Distress Oxide inks in the masked rectangle.

 Then stenciled the leaf using a Zig dark green pen and removed stencil.
  Next outlined the leaf and hand drew the stem with Staedler black pen.
  Outlined the frame with pen using a ruler.

Die cut the card front with CUTplorations "Crazy Double Running Stitch 
Rectangle Nesting Die". and added Clear Stickers "Hello, Spring " sentiment.

Popped up the card front with craft foam onto 100# card base and Done!
I loved using my New Leaf Prints 4 Slimline Stencil and 
New Rectangle Flexi-Template.

We would love to have you join our 7th Birthday Celebration.


STAMPloration Products Used.


"Hello Spring"  Clear Sticker
***************************

Prizes:

- one (1) winner of $50 gift code randomly drawn from the STAMPlorations stash link-up found here
- three (3) winners of $10 gift code randomly drawn from comments left on the birthday hop posts (STAMP blog and designers' blogs)
- two (2) winners of $20 gift code randomly drawn from entries in the birthday linky party
- one (1) winner of $40 gift code randomly drawn from entries in the birthday linky party


Commenting and linking up to the birthday linky party close on November 8
Linking up to the STAMPlorations stash $50 gift code giveaway closes on October 31.

Sales and Promotions:

All products in the store,  including products you received are 10% off instantly throughout October.

If you use my STAMPGIRLNANCY 20% off Design Team Code when you order,  
your order will include this not-yet-released, Just Plaid square stencil (10 mil):


Wednesday, October 21, 2020

Zoom Class using EB Folders Techniques

This month Loll's  Zoom Class used Embossing Folders Techniques.  Zoom Classes are a fun way to connect with Crafty friends and still stay safe and creative:-)  

I made several backgrounds,  but have only had time to finish one background into a card.
I will have my other backgrounds though for future projects:-)

Be sure and check out my crafty friends who are playing along.

& Nancy (me)

My Alcohol Ink on Foil Dry Embossed Birthday Card!


 This is such a fun and easy technique using one of my saved alcohol inks on foil 
in my stash.
It has been a year or two since I dry embossed on foil using an EB Folder.  
It makes such a gorgeous background.

I attached to a die cut stitched circle and added a stitched frame.
Then die cut the balloon with my Never Before Used CUTplorations 
"Shaker Balloons #3" Die.
Then blended balloon with Distress Oxide Inks.

Next I dry embossed the balloon with the same SU Retired zigzag EB folder that
I used on the foil.

Stamped and fussy cut the number 3 and attached with Correct Glue.
Stamped SU sentiment using MISTI and tied on twine and popped up
balloon with SU mini dimensions

Popped up card front using white craft foam on Whisper White 100# Card Base
and Done!

My card went to our 3 year old Great Grandson:-)

Thank you Lolly for such a fun technique.
Be sure and check out all the girls awesome samples.  
Love and Hugs...


Day 3 STAMPlorations Belated 7th Birthday Celebration


Be sure and check out all the Creative and Inspiring Projects by our 
very talented Stamp Girls using New and Old Products!

STAMPlorations "Hope Blooms" and "Bloom Happy" stamp sets.
New "Circles All Over" Cover Plate Texture.

I used the New Fanned Slimline Stencil to make a Monoprint image 
on Strathmore Bristol Vellum Paper using Distress Oxide Ink.
  
Then die cut card front with Crazy Double Running
Stitch Rectangle Nesting Die.   Placed New Circles All Over Cover Plate Texture over layer and die cut the circle stitched design.

Set aside background and stamped Hope Blooms butterflies on Bristol paper with 
Versamark and covered with Ranger Distress Embossing Glaze: Broken China.  

Shook off excess powder and heat set.
  Stamped again with Versamark and covered with Glaze and heat set 
again for a thicker image.  Fussy cut square image and set aside.

Placed monoprint layer in MISTI and stamped Bloom Happy sentiment.

Die cut  SU textured cardstock with Crazy Double Running Stitch Die and attached to card base.

Next popped up monoprint layer and square butterflies layer with craft foam
and attached both layers to card front and Done!

I was very pleased with how my card turned out and it was fun using 
so many New STAMPlorations Products.

We would love to have you join our 7th Birthday Celebration.


******************

STAMPloration Products Used


Prizes:

- one (1) winner of $50 gift code randomly drawn from the STAMPlorations stash link-up found here
- three (3) winners of $10 gift code randomly drawn from comments left on the birthday hop posts (STAMP blog and designers' blogs)
- two (2) winners of $20 gift code randomly drawn from entries in the birthday linky party
- one (1) winner of $40 gift code randomly drawn from entries in the birthday linky party


Commenting and linking up to the birthday linky party close on November 8
Linking up to the STAMPlorations stash $50 gift code giveaway closes October 31.

Sales and Promotions:

All products in the store,  including products you received are 10% off instantly throughout October.

If you use my STAMPGIRLNANCY 20% off Design Team Code when you order,  
your order will include this not-yet-released, Just Plaid square stencil (10 mil):


Tuesday, October 20, 2020

Day 2 STAMPlorations Belated 7th Birthday

Day 2 STAMPlorations Belated 7th Birthday Celebration!

Be sure and check out all the Creative and Inspiring Projects by our
very talented Stamp Girls using New and Old Products!


STAMPlorations Old "It's a Girl Thing: Kindness".

I began by cutting a 4" x 9" card front out of Strathmore Bristol Vellum Surface.

Next placed ARTplorations "Fanned Slimline Stencil" over card front and secured with 3M masking tape.
  Then used make up brush to blend Distress Oxide Inks: Squeezed
Lemonade, Peacock Feathers, Mermaid Lagoon and Wilted Violet.  

When done I used Peacock Feathers over entire stencil to blend all the colors.
You just have to make sure all your color choices blend without
 turning into muddy colors!
Next removed stencil and loved the result.

Tip: If you cut your card front 4" x 9",  which is the same size as all 
of the Slimline Stencils, then you will get a nice frame.
  Your finished card fits nicely in a business size envelope and no
extra postage.

Next placed card front in MISTI and stamped three of the
 "It's a Girl Thing: Kindness" sentiments using Archival Jet Black ink.

Then stamped the butterfly twice from the same stamp set 
using black ink onto the Bristol paper and fussy cut both butterflies.

I watercolored one butterfly with the same Distress Oxide Inks 
used in the stenciled background.
Next attached butterfly to 2nd butterfly using Connect Glue.  

Popped up butterfly with Mini Glue Dots.
Hand drew the antlers and attached card front to 100# card base and Done!
I was very pleased with the results. Hope you like my Slimline card too.

We would love to have you join our 7th Birthday Celebration.


**************

STAMPlorations Products Used...

New "Fanned Slimline Stencil"                            

Old It's a Girls Thing: "Kindness"


Prizes:

- one (1) winner of $50 gift code randomly drawn from the STAMPlorations stash link-up found here
- three (3) winners of $10 gift code randomly drawn from comments left on the birthday hop posts (STAMP blog and designers' blogs)
- two (2) winners of $20 gift code randomly drawn from entries in the birthday linky party
- one (1) winner of $40 gift code randomly drawn from entries in the birthday linky party


Commenting and linking up to the birthday linky party close on November 8
Linking up to the STAMPlorations stash $50 gift code giveaway closes on October 31.

Sales and Promotions:

All products in the store,  including products you received are 10% off instantly throughout October.

If you use my STAMPGIRLNANCY 20% off Design Team Code when you order,  
your order will include this not-yet-released, Just Plaid square stencil (10 mil):


Monday, October 19, 2020

Day 1 STAMPlorations Belated 7th Birthday Celebration

Day 1  STAMPlorations Belated 7th Birthday Fabulous Celebration!!

Be sure and check out all the Creative and Inspiring Projects by our
very talented Stamp Girls using New and Old Products!


I am Loving all my new Slimline Stencils.  Shery designed and got the 
slimline stencils in the 
STAMPlorations Store just in time for the Slimline Card Rage!

I cut a 4" x 9" piece of Strathmore Mixed Media paper for the card front.
I used a make up brush to blend Tea Dye Distress Ink over the entire card front.

Then placed my New "Peeking Slimline Stencil" over card front and secured 
with 3M masking tape.
 
Next I blended with make up brushes Distress Inks: Vintage Photo, 
Squeezed Lemonade, Scattered Straw, Spiced Marmalade and Ripe Persimmon.

Removed stencil and went..."Wow"!  
I Loved the blended colors,  but felt something was missing.
I decided to outline the sunflowers with a Dark Brown Prismacolor Pencils,  
which made the sunflowers pop,  but in a subtle way,  which I liked.

Next I attached a "Just Everyday Greeting"  Happy Birthday sticker to a scrap 
piece of mixed media paper that I colored and framed with another colored scrap.
Attached to card front and Done!  I loved the results!

Tip: If you cut your card front 4" x 9",  which is the same size as all of the Slimline Stencils,  you will get a nice frame:-) 
 
Your finished card fits nicely in a business size envelope! No extra postage.


***********************


******************************

Prizes:

- one (1) winner of $50 gift code randomly drawn from the STAMPlorations stash link-up found here
- three (3) winners of $10 gift code randomly drawn from comments left on the birthday hop posts (STAMP blog and designers' blogs)
- two (2) winners of $20 gift code randomly drawn from entries in the birthday linky party
- one (1) winner of $40 gift code randomly drawn from entries in the birthday linky party


Commenting and linking up to the birthday linky party close on November 8
Linking up to the STAMPlorations stash $50 gift code giveaway closes on October 31.


Sales and Promotions:

All products in the store,  including products you received are 10% off instantly throughout October.

If you use my STAMPGIRLNANCY 20% off Design Team Code when you order,  
your order will include this not-yet-released, Just Plaid square stencil (10 mil):


Thursday, October 15, 2020

CAS Mix Up (S) Tone on Tone

Time for our CAS Mix Up Stencil Tone on Tone Challenge Reminder
hosted by Viv with beautiful samples by our Design Team and talented 
Guest Designer Pat.


You still have until the 24th to play along.

Here is my Quick Clean and Simple Stenciled Tone on Tone Card.

 
I Loved how easily my Tone on Tone Stenciled card went together.  Love when
that happens:-)  Loved the tone on tone sponging of the STAMPlorations
"Peeking Sunflowers"  Slimline Stencil.

I used SU Whisper White 100# Cardbase and Card Front A2 format.

Placed stencil over card front and secured with 3M Masking Tape.
Used make up brushes to sponge and blend Distress Inks thru stencil.

I used Distress Inks: Vintage Photo, Squeezed Lemonade, Scattered Straw, 
Spiced Marmalade and Ripe Persimmon.  Layering colors and blending until
I was happy with the results.

Placed card front in MISTI and stamped STAMPlorations " Fond Expressions 2"
sentiment with Vintage Photo and quickly, while ink still wet,  sprinkled with SU
Clear EB powder and heat set.

Attached card front to card base and Done!
Quick and CAS beautiful Fall Tone on Tone Stenciled Sunflowers:-)

Hope you can join us for this fun CAS Mix Up (S) Challenge.
Love and Hugs...


Supplies:
Stamps: STAMPlorations Fond Expressions 2.
Paper: SU Whisper White 100#.
Inks: Distress Inks: Vintage Photo, Squeezed Lemonade, Scattered Straw, Spiced Marmalade and Ripe Persimmon. 
Accessories: STAMPlorations "Peeking Sunflowers" Slimline Stencil. 3M masking tape. Makeup Brushes.  SU Clear EB powder.  Heat Tool.


Tuesday, October 13, 2020

CAS Christmas Challenge: Christmas Birds

The CAS Christmas Card Challenge is Christmas Birds,  hosted by the
very talented, Christine.  This months Guest Designer is Anita.
You will love Christine and Anita's wonderful bird cards.


Here is my Dove Christmas card.

I used a SU retired beautiful Dove from the "Calm Christmas" stamp set.
I had tucked this die cut SU retired Christmas designer paper in the
stamp box several years ago:-)

A very QCAS card design. 
I used my MISTi to stamp the Dove onto the DP with Distress Oxide 
Fired Brick ink and because the ink stays wet for awhile I heat embossed it
with SU Clear EB Powder.  I love how it made the dove pop and shine.

Next stamped STAMPlorations Shirley B's "Layered Christmas Sentiment"
with Archival Jet Black Ink.

Attached main image to SU Whisper White 100# CS and popped up with
Craft Foam and attached to SU 100# CS and Done!

My card is a CAS 5" x 5" format,  which I do not use very often,  
love the more elegant look.

Hope  you get to play in the CAS Christmas Challenge too.  An awesome
challenge for adding to your Christmas stash:-)

Love and Hugs...


Supplies:
Stamps: SU retired "Calm Christmas".  STAMPloratons "Layered Christmas Sentiment" by Shirley B.
Paper: SU Whisper White 100# and Retired Christmas Designer Paper.
Inks: Distress Oxide: Fired Brick.  Archival Jet Black.
Accessories: MISTI.  Craft Foam. SU clear EB powder.  Heat Tool.


Monday, October 12, 2020

Thank you my dear creative friends!

Thank You Lolly for my surprise 75th Birthday Party Blog Hop:-)

Oh my gosh,  was it ever a Big Surprise! If you go to the party link you will be able to see all the Gorgeous cards that my stamping friends linked to Loll's blog.  I also received  many in the mail.  Seeing all the creative cards IRL and sweet messages inside was a real joy.

There were so many cards it was difficult to get a good photo.  I did divide them up into 2 sets to take the photos.   I still think there are a few coming by snail mail.


And More...


I can't thank you enough for the best ever birthday my sweet creative friends.

A special thank you to Lolly for the wonderful thoughtful gift.

Love and Hugs to you all...